Some documents need more than just a name.
With OTP Verification, GetSign sends a unique, time-sensitive code to the signer’s email before they can access the document — protecting your agreements, approvals, and policies from unauthorized access.

GetSign’s OTP Verification helps you confirm signer identity for sensitive or high-value documents.
Whether you’re collecting signatures from clients, vendors, or employees — OTP ensures only the right person can sign.
Authenticate your signer before the first click.
Open the relevant item (e.g., a contract or agreement)
Use GetSign’s drag-and-drop editor to insert text fields, signature fields, or date fields as needed.
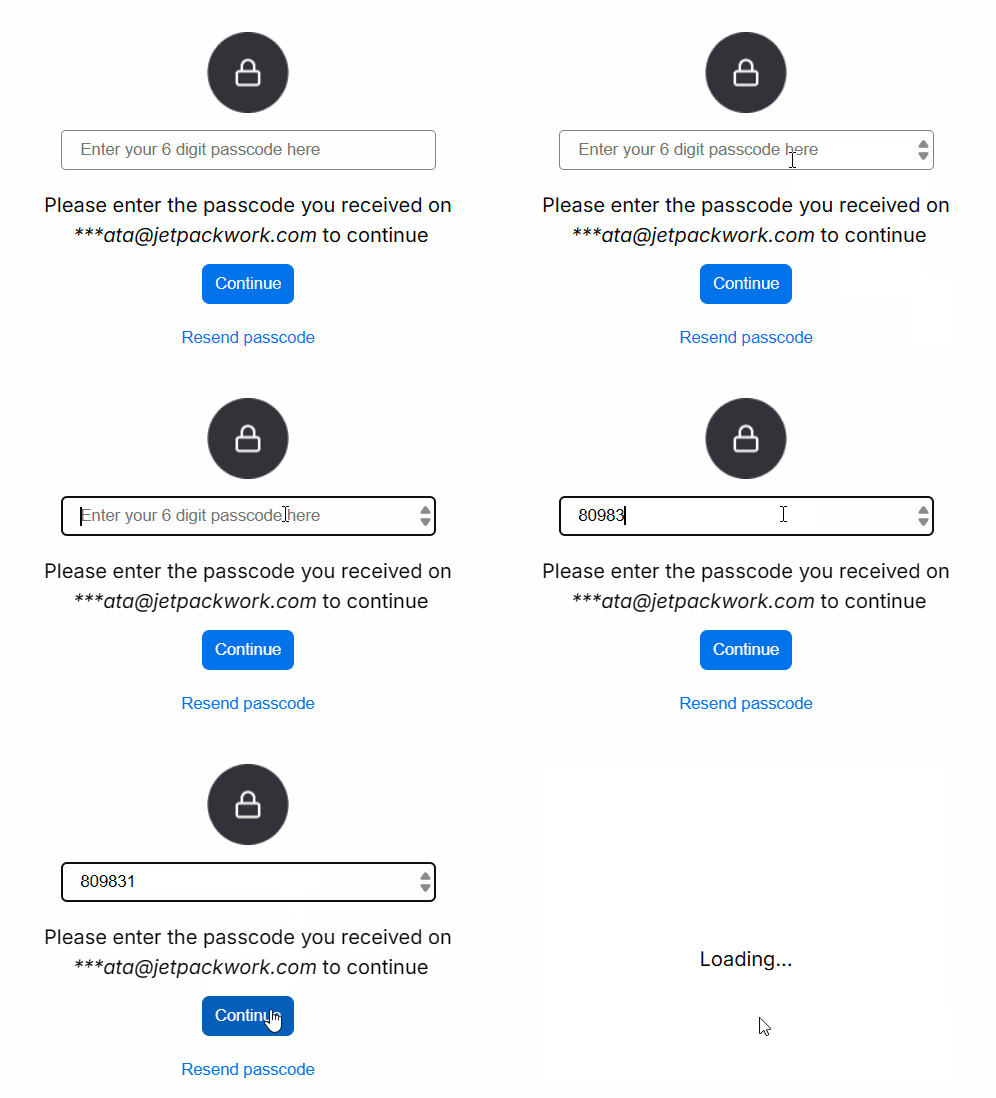
With OTP enabled, any attempt to open the document will require a unique passcode emailed to the intended signer.
Recipients receive an email stating that an OTP-protected document is waiting for them.
Recipient enters the OTP to unlock the document
Explore how different teams can streamline their workflows with GetSign.
Use OTP for employee policy acknowledgements, confidential letters, or offboarding documents — especially when sent outside your organization.
Authenticate external vendors, partners, or clients before they sign NDAs, disclosures, or compliance forms — adding audit-ready assurance.
Send secure order forms, service agreements, or subscription renewals to clients with OTP to avoid impersonation or accidental signing.
Add identity checks for payment authorizations, budget approvals, and high-value contracts — ensuring only authorized signers access critical agreements.
Issue data access or confidentiality policies company-wide and monitor signature completion from the board.
Whether you’re managing internal policy documents or multi-party contracts, OTP Verification ensures your documents are signed only by the right person.
It’s secure by design, frictionless for users, and embedded inside your GetSign workflows.
Prevent the wrong person from seeing or signing sensitive documents.
No account needed — just enter the code and sign.
Add identity verification to meet internal and external standards.
Use it inside monday.com — no integrations, no juggling apps.
Add one-time password verification to your signature workflows and ensure every document is accessed by the right person — every time.
OTP (One-Time Password) verification is an added layer of security that confirms a signer’s identity before they access a document. GetSign sends a time-sensitive code to the signer’s email, which must be entered before they can view or sign the document — ensuring that only the intended recipient can complete the process.
OTP verification is natively built into your monday.com workflow. Once you toggle OTP on for a document, GetSign automatically emails a secure code to the signer. They must enter this code before accessing the document. There’s no need for separate apps or logins.
OTP is ideal for signing sensitive or high-value documents, such as NDAs, compliance forms, employment contracts, service agreements, or payment approvals. It’s especially useful when signing workflows involve external users or require strict identity verification.
Yes. OTP verification supports compliance with internal security policies and global standards such as GDPR and HIPAA. It ensures a verifiable audit trail and identity confirmation for each signer, which strengthens legal enforceability and data protection.
You can enable OTP on a per-document basis. When preparing a document in GetSign, simply toggle the OTP option on for those items that require extra security. This gives you flexibility to protect only the workflows that need identity verification.
No. The process is frictionless. Recipients receive a secure email with a link and a one-time passcode. They simply enter the OTP and proceed to sign — no logins, portals, or apps required.
OTP Authentication is part of the standard GetSign capabilities and does not require any additional payment. It is available natively within monday.com.